Who doesn’t love a rich, creamy, no-bake dessert that melts in your mouth with every bite? Enter Butterfinger Pie—a perfect combination of crunchy, chocolaty, and peanut buttery goodness. This simple yet indulgent treat is not only easy to make but also a guaranteed crowd-pleaser at any gathering.
In this article, we’ll break down everything you need to know about making the best Butterfinger Pie from scratch. We’ll start with the basics—what makes this pie so special—before diving into a step-by-step guide, ingredient choices, creative variations, and pro tips to perfect the recipe. Plus, we’ll answer some of the most frequently asked questions to ensure your dessert turns out flawlessly every time.
Let’s get started with Part 1, where we’ll introduce you to this heavenly dessert!
Table of Contents
1: Introduction to Butterfinger Pie
What is Butterfinger Pie?
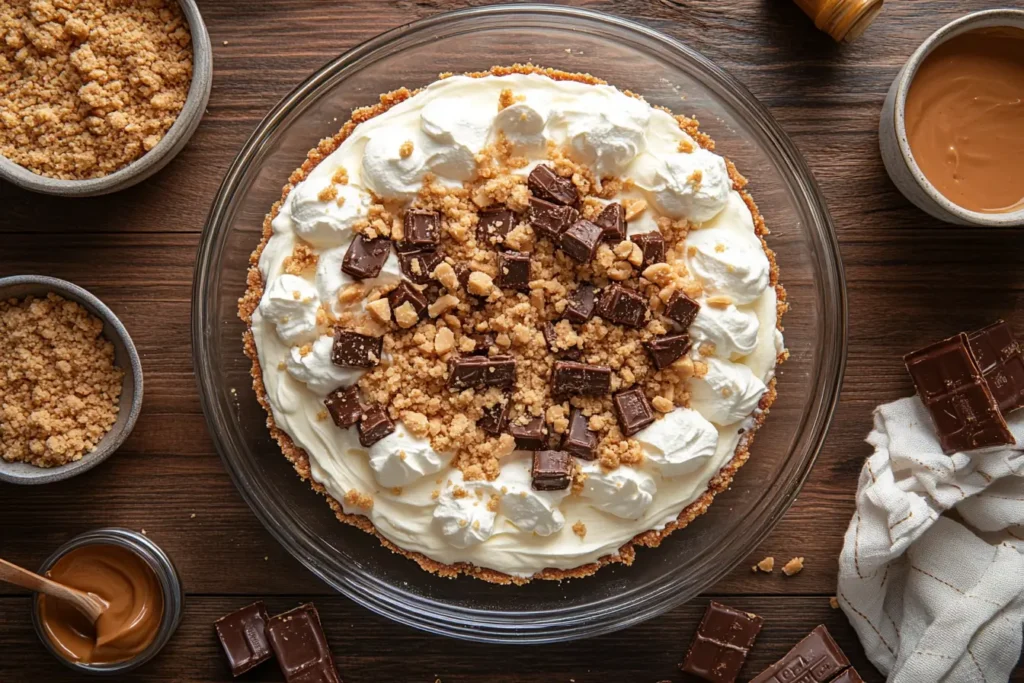
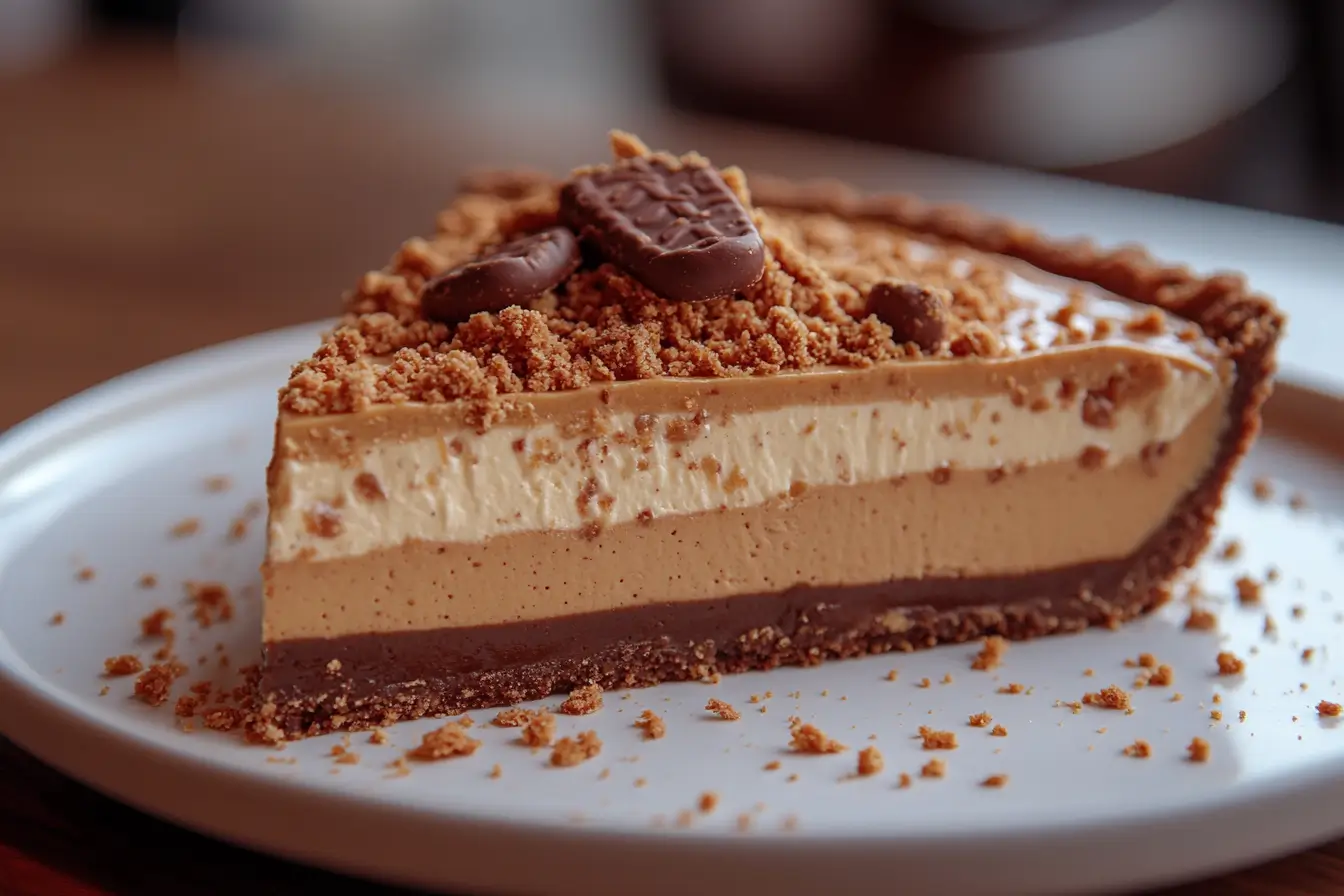
Butterfinger Pie is a luscious, no-bake dessert that features a smooth, creamy filling infused with crunchy Butterfinger candy pieces. It’s typically nestled in either a graham cracker or Oreo crust, making every bite a delightful balance of crunch and creaminess. Unlike traditional pies that require baking, this recipe sets beautifully in the fridge, making it an effortless dessert for any occasion.
Why is it a Fan-Favorite Dessert?
There are plenty of reasons why Butterfinger Pie has taken the dessert world by storm:
- Quick & Easy: With just a handful of ingredients, you can whip up this dessert in under 15 minutes.
- No Oven Required: A perfect option for hot summer days when you want something sweet without heating up the kitchen.
- Crowd-Pleasing: Whether for holidays, birthdays, or potlucks, this pie is a universal favorite among both kids and adults.
- Customizable: From different crusts to toppings like chocolate drizzle or whipped cream, you can make it your own!
The Popularity of No-Bake Desserts
In today’s fast-paced world, people love no-bake desserts because they save time without compromising on flavor. From peanut butter pies to chocolate cream pies, the possibilities are endless when it comes to quick and delicious treats. Butterfinger Pie is one of the most beloved options because it combines the nostalgic crunch of Butterfinger bars with a smooth, creamy filling that’s impossible to resist.
Ready to make the perfect Butterfinger Pie? Let’s move on to Part 2, where we’ll discuss the essential ingredients and how to choose the best ones for the most delicious results!
2: Ingredients for the Perfect Butterfinger Pie

A Butterfinger Pie is only as good as the ingredients you use! From choosing the best crust to selecting the right peanut butter, every component plays a crucial role in making this dessert irresistibly delicious.
Essential Ingredients Breakdown
To make the perfect Butterfinger Pie, you’ll need the following:
- Butterfinger Candy Bars – Crushed into small pieces for that signature crunch.
- Cream Cheese – Adds a rich, tangy base to balance the sweetness.
- Cool Whip or Whipped Cream – Creates a light and airy texture.
- Peanut Butter – Enhances the nutty flavor while keeping the filling smooth.
- Powdered Sugar – Sweetens the filling without a grainy texture.
- Pie Crust – Choose from graham cracker or Oreo crust for the perfect base.
Choosing the Right Crust: Oreo vs. Graham Cracker
Your crust choice can make a big difference!
- Oreo Crust: Adds a deep chocolatey flavor, perfect for chocolate lovers.
- Graham Cracker Crust: A classic option that pairs well with the peanut butter filling.
Best Peanut Butter for a Creamy Texture
Stick to creamy peanut butter instead of crunchy varieties. Natural peanut butter is great, but it can separate, so stir it well before using.
Cool Whip vs. Homemade Whipped Cream
- Cool Whip is convenient and adds stability to the pie.
- Homemade whipped cream gives a fresher taste but may require additional chilling time.
Want to explore more fun dessert options? Check out this Dunkaroo Dip Recipe for another nostalgic, no-bake treat!
Now that you’ve got your ingredients ready, let’s move on to Part 3, where we’ll walk you through the step-by-step process of making the best Butterfinger Pie!
3: Step-by-Step Recipe – How to Make Butterfinger Pie

Making a Butterfinger Pie is as easy as mixing, pouring, and chilling! Follow these simple steps to create a creamy, crunchy dessert that will impress everyone.
Preparing the Crust
- If using a store-bought crust: Simply remove the plastic covering and set it aside.
- For a homemade crust:
- Crush 20 Oreo cookies or 1 ½ cups of graham crackers.
- Mix with 5 tbsp melted butter.
- Press the mixture firmly into a 9-inch pie dish.
- Chill for 10–15 minutes before filling.
Making the Creamy Filling
- In a large mixing bowl, beat cream cheese until smooth.
- Add powdered sugar and continue mixing.
- Stir in peanut butter and mix until fully combined.
Mixing in Butterfinger Pieces for Crunch
- Fold in crushed Butterfinger bars, leaving some aside for topping.
- Gently fold in Cool Whip or whipped cream until the filling is light and fluffy.
Assembling and Chilling the Pie
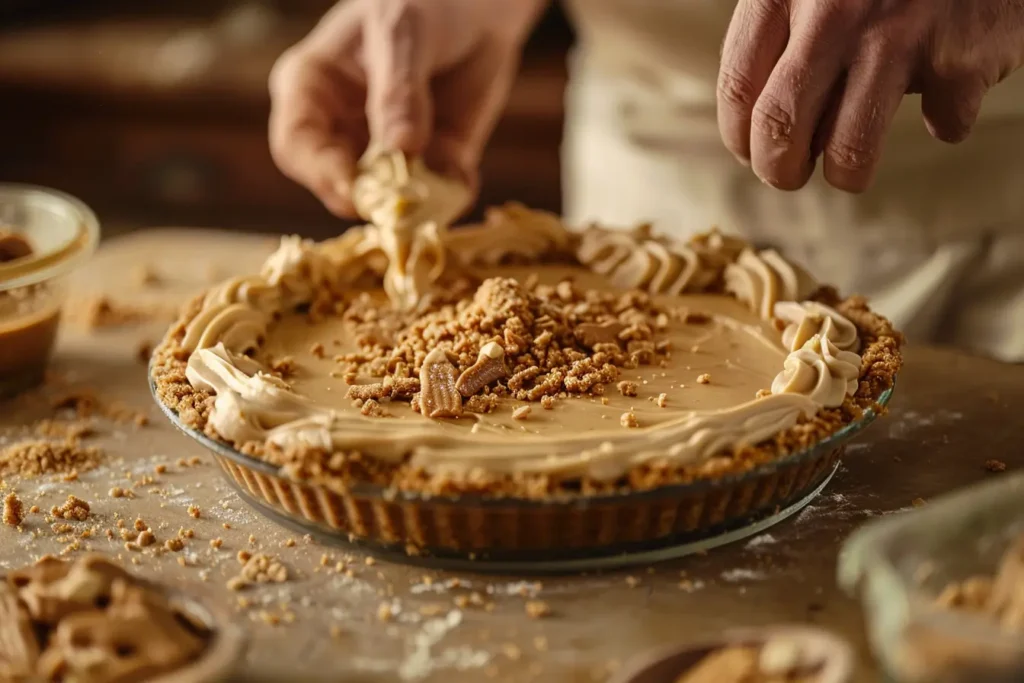
- Pour the filling into the prepared crust and smooth the top.
- Sprinkle extra Butterfinger pieces over the top.
- Chill in the refrigerator for at least 4 hours or overnight for best results.
Tips for Perfect Consistency
- Don’t overmix the filling, as it can become too dense.
- Refrigerate for at least 4 hours to allow flavors to meld.
- Freeze for a firmer, ice-cream-like texture!
Looking for a creamy pasta dish to pair with your dessert? Try this Alfredo Spaghetti Recipe for a complete meal!
Up next in Part 4, we’ll explore fun variations and creative ways to make Butterfinger Pie your own!
4: Variations and Creative Twists on Butterfinger Pie
One of the best things about Butterfinger Pie is how versatile it is! Whether you want to add extra chocolate, lighten it up, or make it a frozen treat, there are plenty of ways to customize this dessert.
Adding a Chocolate Ganache Layer
If you’re a chocolate lover, adding a rich chocolate ganache will take your Butterfinger Pie to the next level. Simply heat ½ cup of heavy cream, pour it over ½ cup of chocolate chips, and stir until smooth. Let it cool slightly before spreading it over the pie filling.
Swapping Butterfingers for Other Candy Bars
Want to switch up the flavor? Try using different candy bars for a fun variation:
- Snickers – Adds caramel and peanut chunks for extra chewiness.
- Reese’s Cups – A dream for peanut butter lovers!
- Heath Bars – Brings a crunchy toffee flavor.
Making a Frozen Butterfinger Pie
For a cool summer treat, turn your Butterfinger Pie into a frozen dessert:
- Follow the same recipe but place the pie in the freezer instead of the fridge.
- Let it sit for at least 6 hours or overnight.
- Before serving, let it thaw for 10 minutes so it’s easier to slice.
Gluten-Free and Low-Sugar Modifications
Want to make a healthier version? Here’s how:
- Use a gluten-free crust like crushed gluten-free cookies or almond flour crust.
- Swap out Cool Whip for homemade whipped cream with a sugar substitute.
- Choose sugar-free peanut butter and candy bars to cut down on sweetness.
Looking for more fun dessert ideas? Check out this Dunkaroo Dip Recipe for another nostalgic treat!
Next up, let’s explore the best occasions to serve Butterfinger Pie!
5: Best Occasions to Serve Butterfinger Pie
Butterfinger Pie is the kind of dessert that fits any occasion. Whether you’re hosting a holiday dinner, throwing a party, or just craving something sweet, this no-bake treat is always a hit!
Holidays and Special Gatherings
During the holiday season, Butterfinger Pie is a fantastic addition to the dessert table. It’s quick to prepare, freeing up time for other holiday cooking. Plus, it pairs well with classic treats like Christmas cookies and pumpkin pie.
Potlucks and Parties
Need an easy-to-transport dessert? This pie is a potluck favorite! Since it’s made ahead of time and doesn’t require baking, it’s perfect for birthday parties, BBQs, and family reunions. Just slice it before leaving and serve it chilled!
Kid-Friendly Treats
Kids love the crunchy, creamy texture of Butterfinger Pie. It’s also a fun dessert for sleepovers or weekend treats. Want to make it even more exciting? Let kids decorate their own slices with extra candy toppings!
For more crowd-pleasing recipes, explore this Big Mac Casserole Recipe—it’s another great dish to serve at parties!
Up next, we’ll dive into expert storage tips to keep your Butterfinger Pie fresh and delicious!
6: Pro Tips for Storing and Serving Butterfinger Pie
Making Butterfinger Pie ahead of time? No problem! Proper storage ensures it stays fresh, creamy, and delicious. Whether you want to enjoy it over several days or save some for later, here’s everything you need to know.
Refrigeration vs. Freezing
- Refrigeration: If you plan to serve the pie within a few days, keep it covered in the fridge. It stays fresh for up to 4–5 days.
- Freezing: Want to store it longer? Wrap it tightly with plastic wrap, followed by aluminum foil, and freeze for up to 3 months. When ready to serve, thaw it in the fridge for a few hours before slicing.
How Long Does Butterfinger Pie Last?
Properly stored in the fridge, Butterfinger Pie retains its flavor and texture for about 5 days. However, if left uncovered, it may absorb other food odors, so always use an airtight container or plastic wrap.
Best Toppings for Extra Flavor
Want to elevate your Butterfinger Pie? Here are some delicious toppings to try:
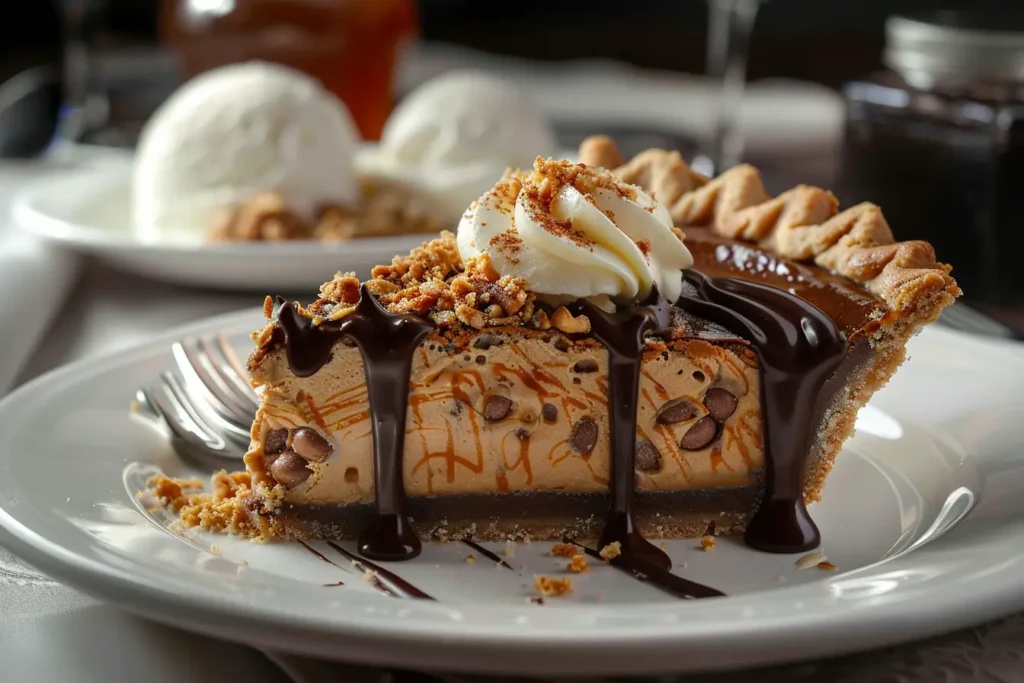
- Chocolate drizzle – Adds a rich, indulgent touch.
- Whipped cream – A light, fluffy contrast to the dense filling.
- Extra Butterfinger crumbs – Because more crunch is always better!
- Caramel sauce – For an extra sweet, buttery finish.
Now that you know how to store and serve your pie, let’s move on to the best pairings to enjoy with it!
7: Pairing Suggestions – What Goes Well with Butterfinger Pie?

Pairing your Butterfinger Pie with the right drink or side dish can make it even more satisfying. Whether you’re serving it after dinner or as a midday treat, these pairings will take your dessert experience to the next level.
Beverages: Coffee, Milkshakes, and Dessert Wines
- Coffee & Espresso: The slight bitterness of coffee balances the sweetness of Butterfinger Pie. A cappuccino or iced coffee makes a great match.
- Milkshakes: Blend up a vanilla or chocolate milkshake and serve it alongside a slice for the ultimate indulgence.
- Dessert Wines: If you’re feeling fancy, try a sweet Moscato or a smooth port wine to complement the creamy peanut butter filling.
Ice Cream Flavors That Complement Butterfinger Pie
Adding a scoop of ice cream takes this dessert to the next level! Try these flavors:
- Vanilla Bean – A classic, simple option that pairs well.
- Chocolate Fudge – For those who love an extra chocolate boost.
- Peanut Butter Cup – A flavor that enhances the peanut butter goodness.
Other Desserts to Serve Alongside
Hosting a party? Serve Butterfinger Pie with other no-bake favorites like chocolate mousse, peanut butter truffles, or banana pudding for a diverse dessert spread.
Now that we’ve covered pairings, let’s move on to common mistakes and how to avoid them in Part 8!
8: Common Mistakes and How to Avoid Them
Even though Butterfinger Pie is an easy dessert to make, a few common mistakes can affect its texture and flavor. Avoid these pitfalls to ensure your pie turns out perfectly every time.
Using the Wrong Type of Peanut Butter
Not all peanut butter works well in Butterfinger Pie! Natural peanut butter tends to separate, making the filling runny. Stick to creamy, processed peanut butter for the best texture.
Not Letting the Pie Set Long Enough
Patience is key! If you cut into the pie too soon, the filling may be too soft. Let it chill for at least 4 hours—or overnight for the best results.
Overmixing the Filling
While mixing is essential, overmixing can make the filling dense instead of light and airy. Gently fold in the whipped topping instead of vigorously stirring.
Using a Weak Crust
A poorly packed crust can crumble when slicing. If making a homemade crust, press it firmly into the pan and let it set before adding the filling.
By avoiding these mistakes, you’ll get a creamy, delicious Butterfinger Pie every time! Next, we’ll answer some frequently asked questions.
9: Frequently Asked Questions
Here are answers to some of the most common questions about making Butterfinger Pie!
Can I Make Butterfinger Pie Ahead of Time?
Yes! This dessert is perfect for making in advance. Simply prepare the pie, cover it tightly, and refrigerate it for up to 2 days before serving. If freezing, allow extra time for thawing in the fridge.
What Can I Use Instead of Cool Whip?
If you prefer a more natural option, swap out Cool Whip for homemade whipped cream. Just beat 1 cup of heavy cream with 2 tablespoons of powdered sugar until stiff peaks form.
How Do I Make Butterfinger Pie Without Cream Cheese?
If you want a lighter version, replace cream cheese with vanilla pudding mix or Greek yogurt. The texture will be softer, but it will still be delicious!
Can I Bake Butterfinger Pie Instead of Keeping It No-Bake?
This pie is meant to be enjoyed chilled, but if you want a firmer texture, you can briefly bake the crust at 350°F (175°C) for 8–10 minutes before adding the filling. Just be sure to let it cool completely before assembling.
With these answers, you’re now ready to make the best Butterfinger Pie!
Conclusion
Butterfinger Pie is the perfect no-bake dessert for any occasion. With its creamy peanut butter filling, crunchy Butterfinger candy topping, and buttery graham cracker crust, this pie is a guaranteed crowd-pleaser. Plus, it’s incredibly easy to make—just mix, chill, and enjoy!
Whether you’re making it for a holiday gathering, a summer BBQ, or just a sweet craving, this pie delivers on both taste and texture. Plus, with all the creative variations—like adding a chocolate ganache layer, making a frozen version, or swapping in different candy bars—you can easily customize it to suit your preferences.
Now that you have all the tips and tricks for making the best Butterfinger Pie, it’s time to head to the kitchen and whip up this decadent treat. Don’t forget to share your creations and let us know how your pie turned out!
Want more delicious dessert ideas? Check out our Dunkaroo Dip Recipe for another easy, nostalgic treat!
Enjoy your Butterfinger Pie, and happy baking! 😊

